
Caress of Steel was quite an ambitious project for such a young band. Unfortunately, although the first three tracks are rather good, the two far longer conceptual tracks can take a bit of getting used to. I remember eagerly listening to this for the first time, big fan that I was (and still am) of long, meandering sections of music that would take up the entire side of an LP. The Necromancer and The Fountain of Lamneth on Caress of Steel, however, are very hard to warm to. I can appreciate them a lot more these days but to a young, teenage Commander Homborger, they were rather disappointing. The band were very pleased with what they had done. The album itself tanked. The record company were not happy and it was almost the end of the band. The next album had better not contain any more side-long tracks or they definitely would be finished. More on Caress of Steel later…
- Bastille Day
- I Think I’m Going Bald
- Lakeside Park
- The Necromancer
- The Fountain of Lamneth
Adder

Ah! The Adder. I really cannot understand why there is so much hate for this ship! It’s the Ford Transit of the galaxy. You can make some very good money very early on in the game with this baby because it has a class 2 hardpoint and reasonable cargo space. A couple of asteroids worth of core mining and you could have 50 million credits sitting in your cargo racks. I named her “I Think I’m Going Bald” mainly because I reckon the Adder would look better with a wig. Don’t you think so too?
Diamondback Scout

I missed a trick here I know. Should have put both Diamondbacks in together. Never mind. Already built and named now. I haven’t done a lot with the Diamondback Scout yet. Little bit of smuggling, which it excels at. But, once I’ve got more of the engineers unlocked, I was thinking of taking it to see some thargoids, run cool, silent and undetected, take a sample with a research limpet and then rocket away as if the thargoid is Jason Momoa and I’ve just kicked him sharply in the shins. I named it the “Necromancer” because of how cold it can run. Although, it turned out a completely different use would be found for her. You can read more about what adventures have been had in the Necromancer further down…

“I do not know of dust to dust
The Fountain Of Lamneth (Rush – Caress Of Steel)
I live from breath to breath
I live to climb that mountain
To the Fountain of Lamneth”
Don’t get me wrong – Caress Of Steel is a great album. The standard of writing and the sheer ambition of the music is startling for a group of three guys in their early twenties. It was the first time the band really ventured into prog rock, as opposed to dabbled with their second album. In fact, in many ways it can get a little too “proggy” if you’re not used to that sort of thing. There are even a few sections that some might describe as “avant garde”. If you are new to Rush, I would advise leaving this album until towards the end of completing your collection. Then, when you discover it, it is full of wonder and innovation. I now love this album, I mean, I have the 180g vinyl gatefold version of it! And, it has to be said, it makes far more sense spinning on a turntable than being digitally reproduced from a smart phone.
Diamondback Scout Racer!
“The road is lined with peril,
The Necromancer (Rush – Caress of Steel)
The air is charged with fear“
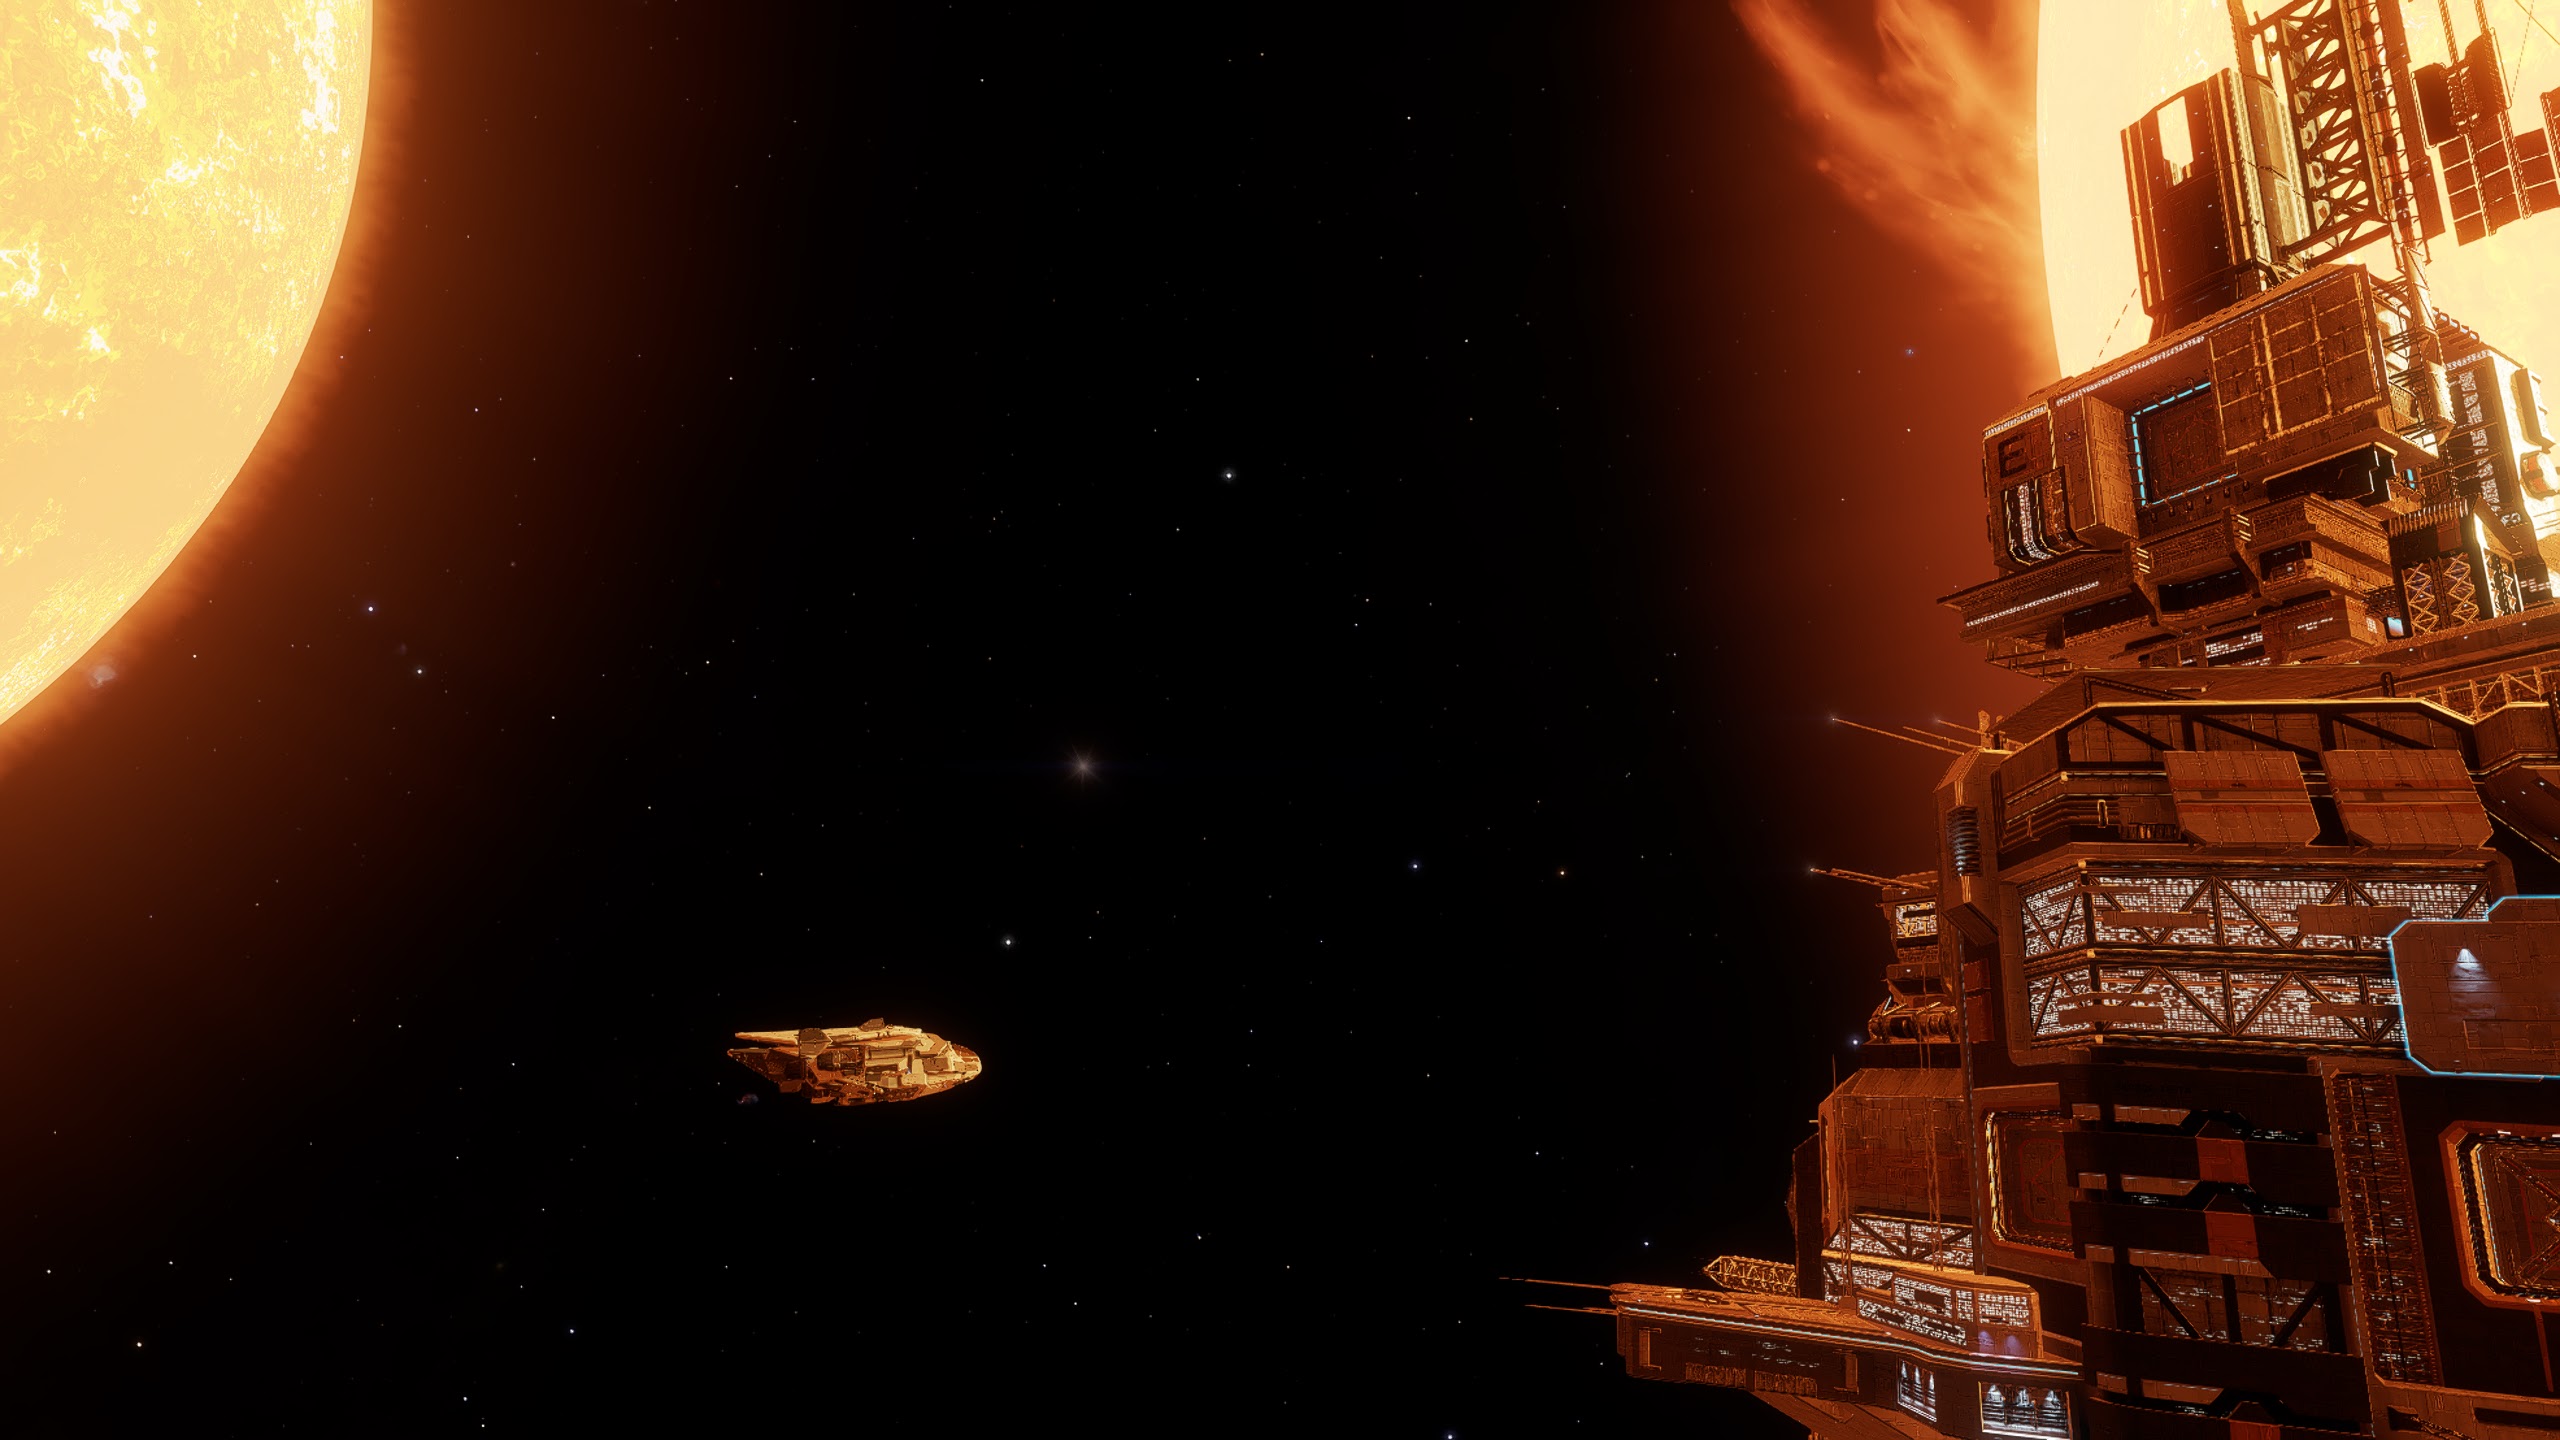
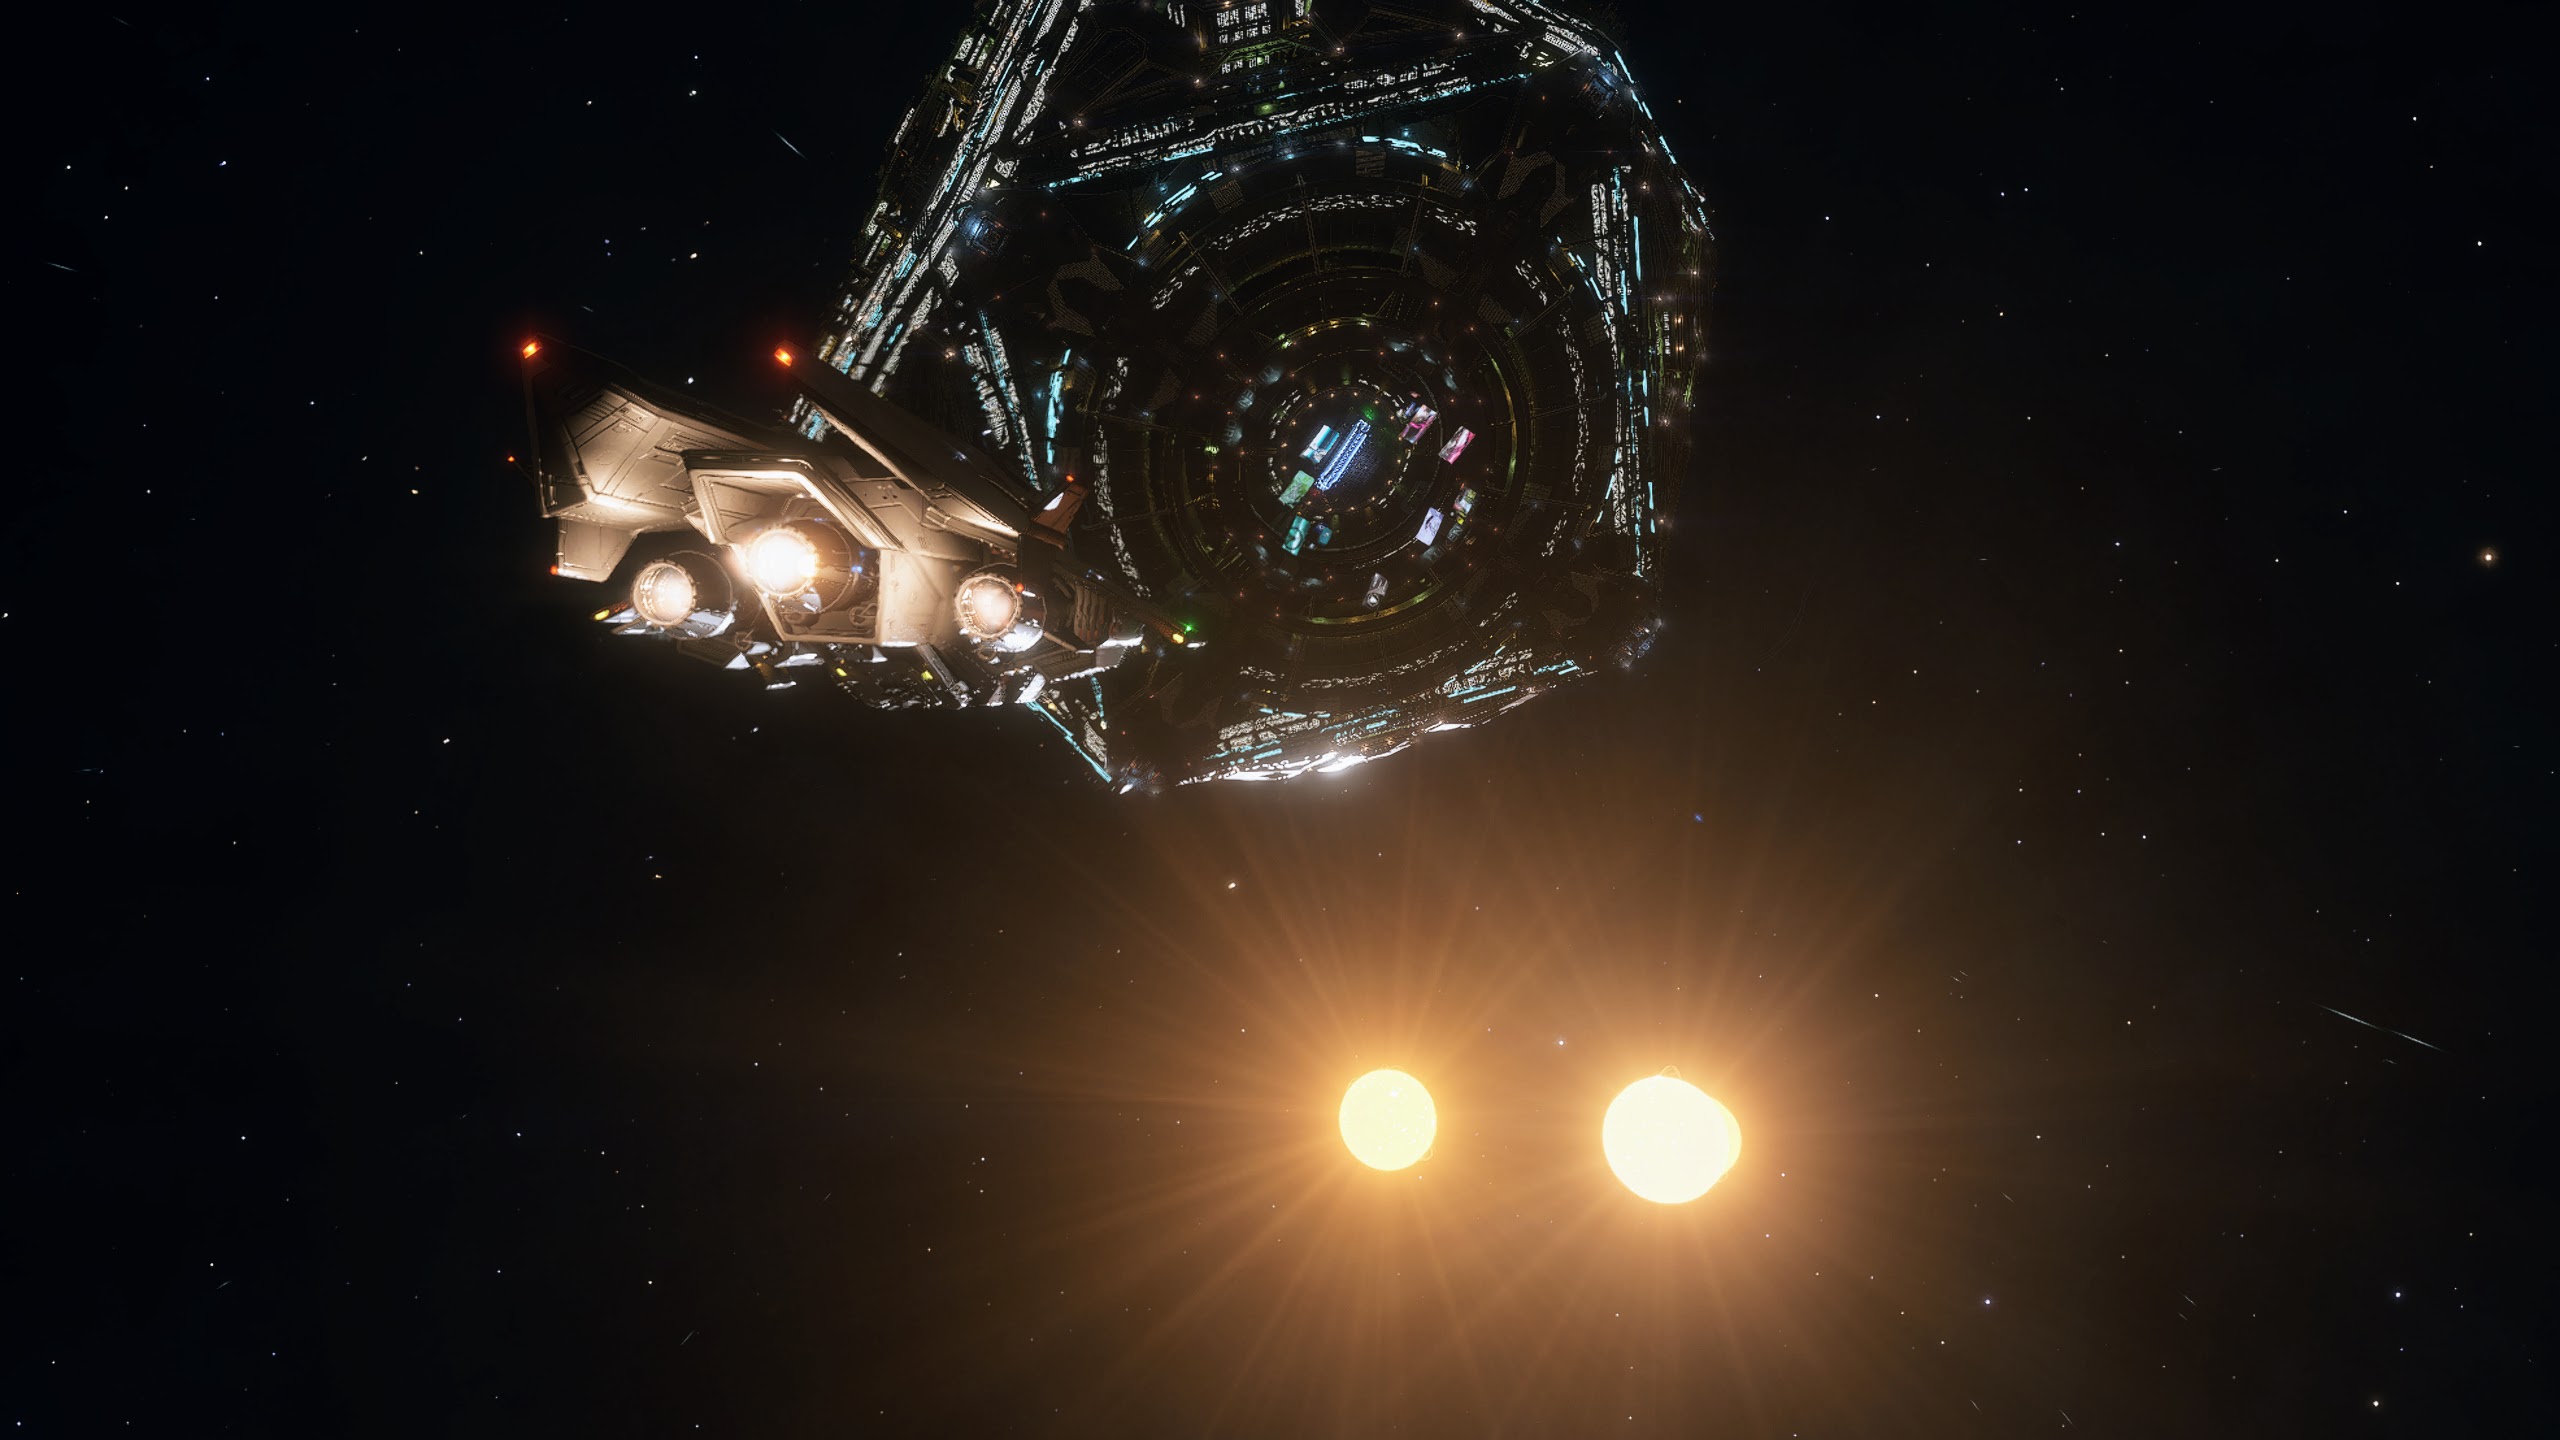
Hello! Cmdr Leeya Geddy here. It’s nice to come back to my office on The Garden after a really exciting race. Just staring out onto the vastness of space from my window is an excellent way to wind down. It was technically my first time doing a Buckyball, although I’ve accompanied Cmdr Homborger on most of his races so I’m not exactly a newbie at this. Let’s see how things went…
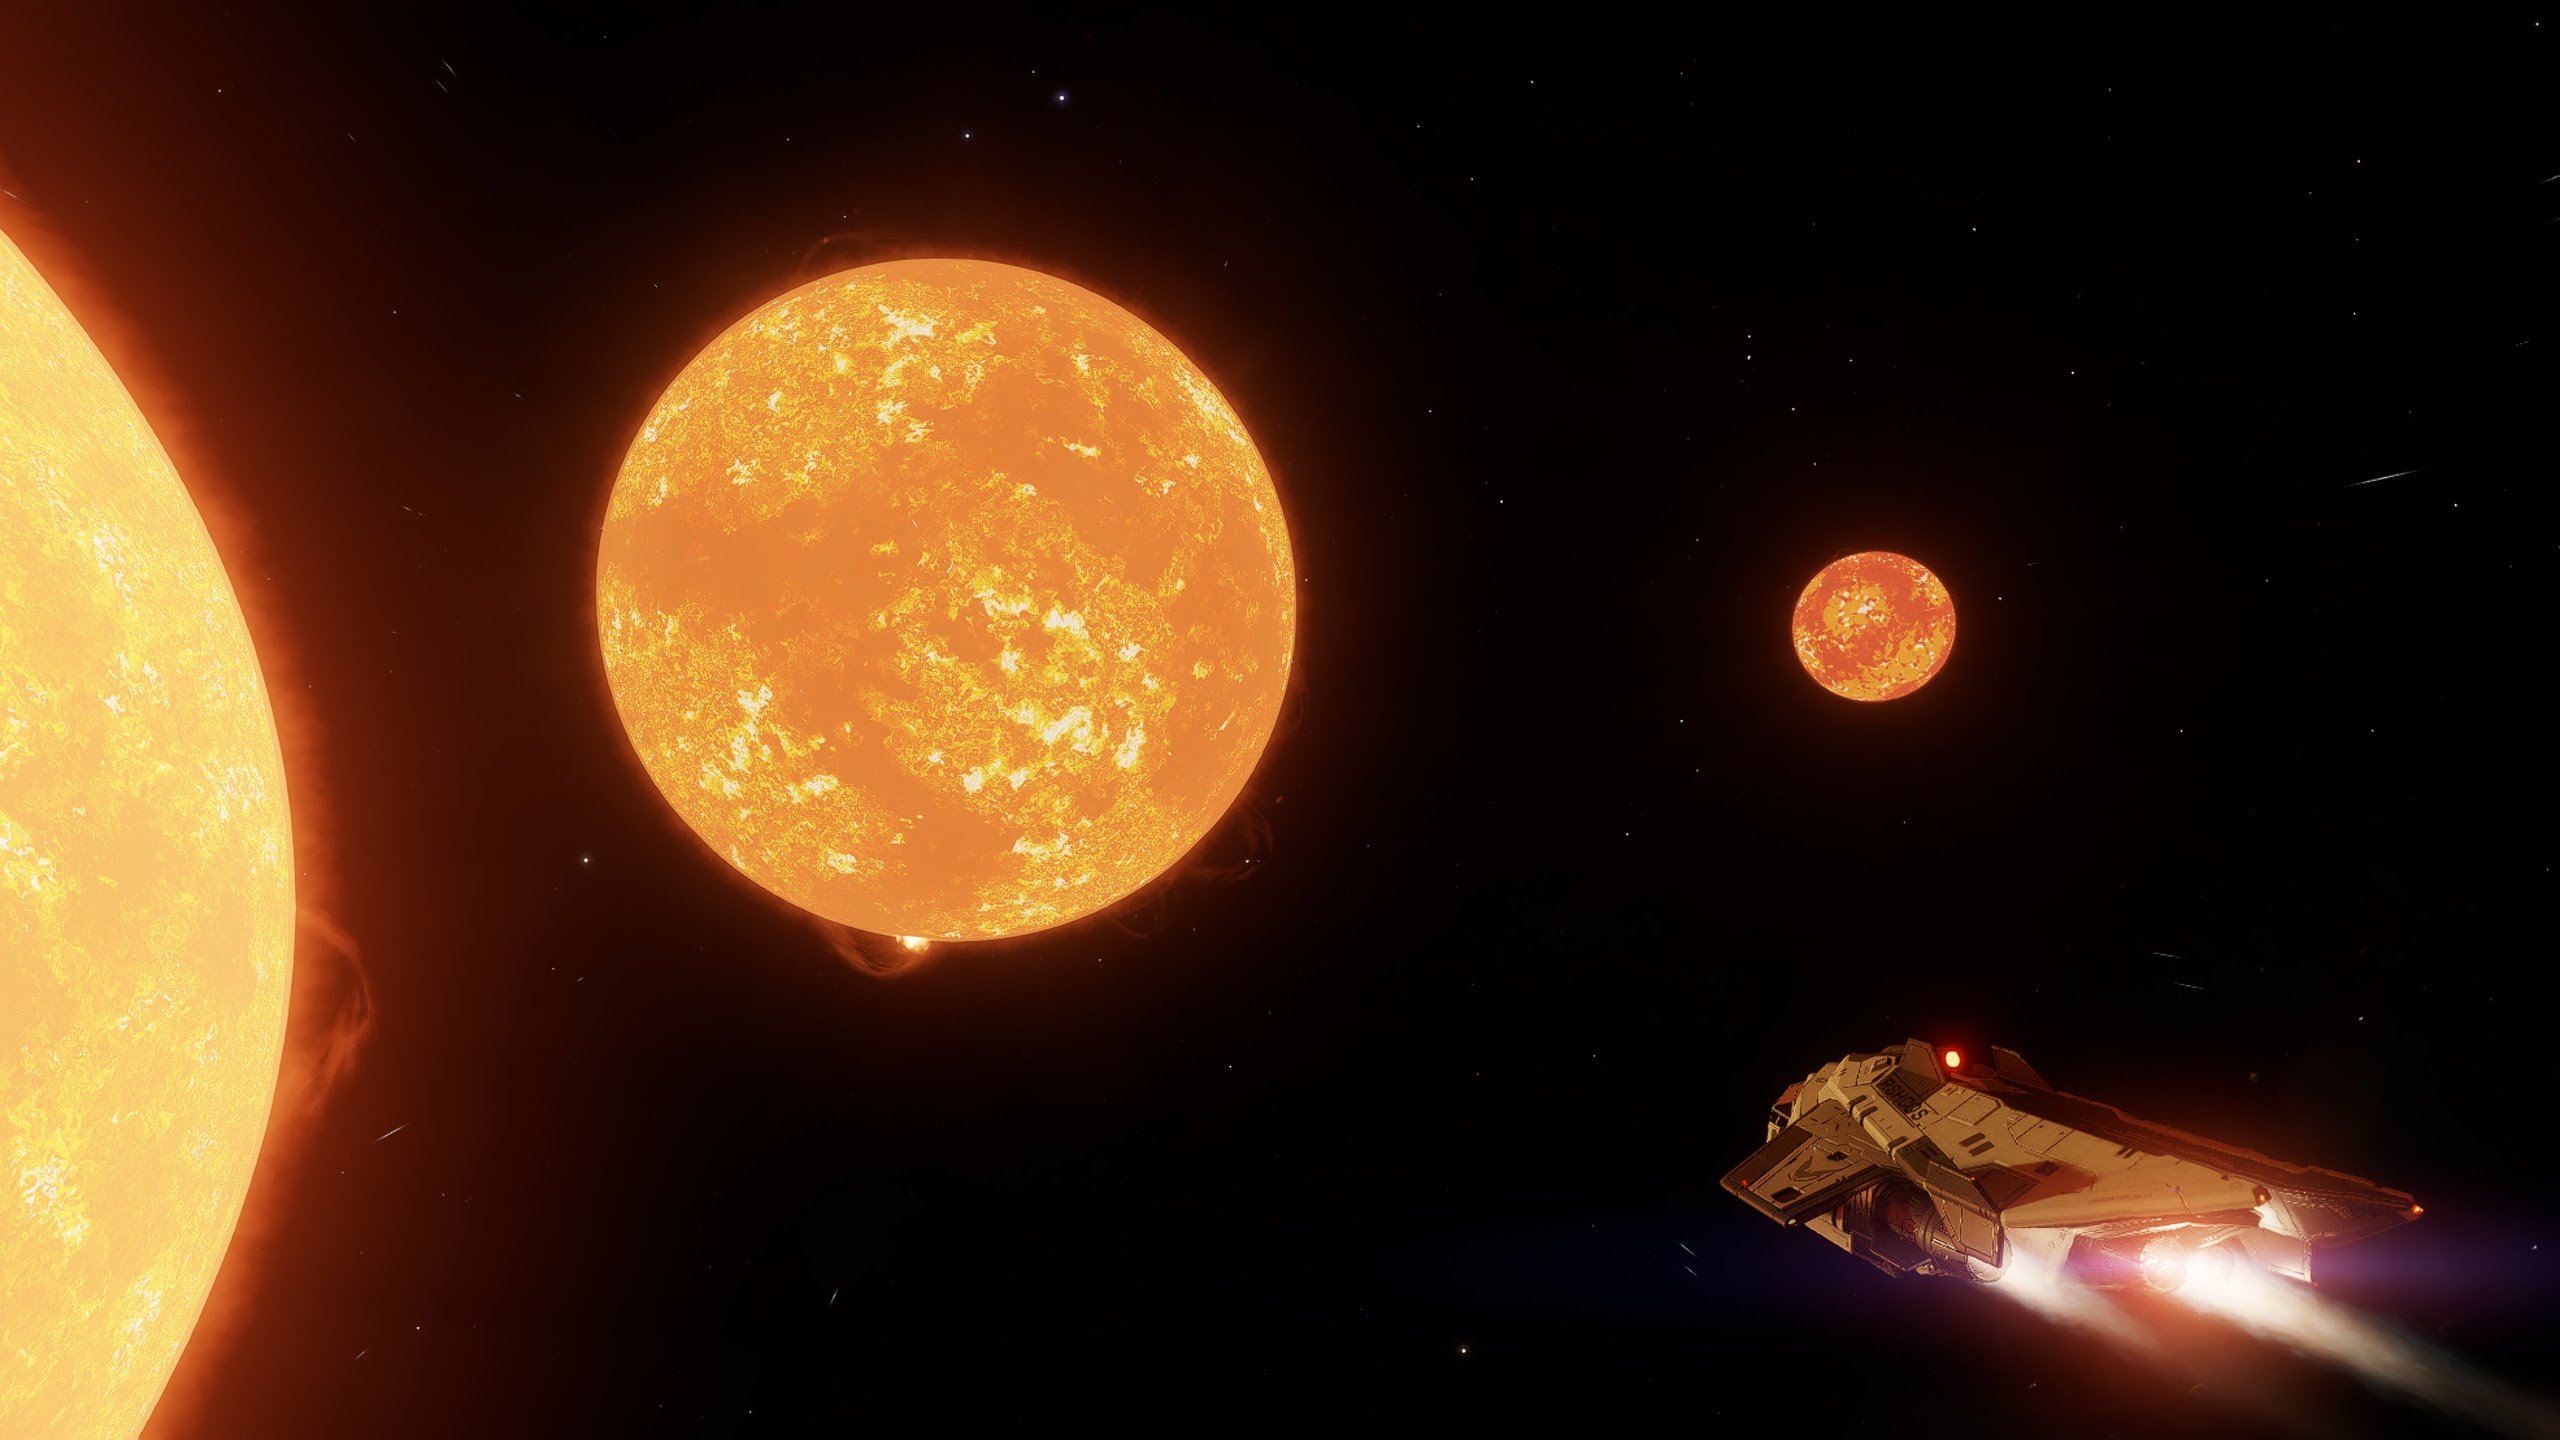
Even though the Buckyball season is officially over, it doesn’t necessarily mean there are no more Buckyball races. An impromptu one will pop up from time to time and this is a wonderful new course sponsored by Edelgard von Rhein. It deals with travelling to some of the close orbit triple star systems that inhabit the Bubble and for this reason a regulation racing ship needed to be chosen that was both reasonably inexpensive and good at keeping cool. The Diamondback Scout was the ship that was finally decided upon, and, seeing as the Rush Fleet already has a DBS I thought the race would be a great excuse to really get to know this ship. It was time to race The Trouble With Triples!
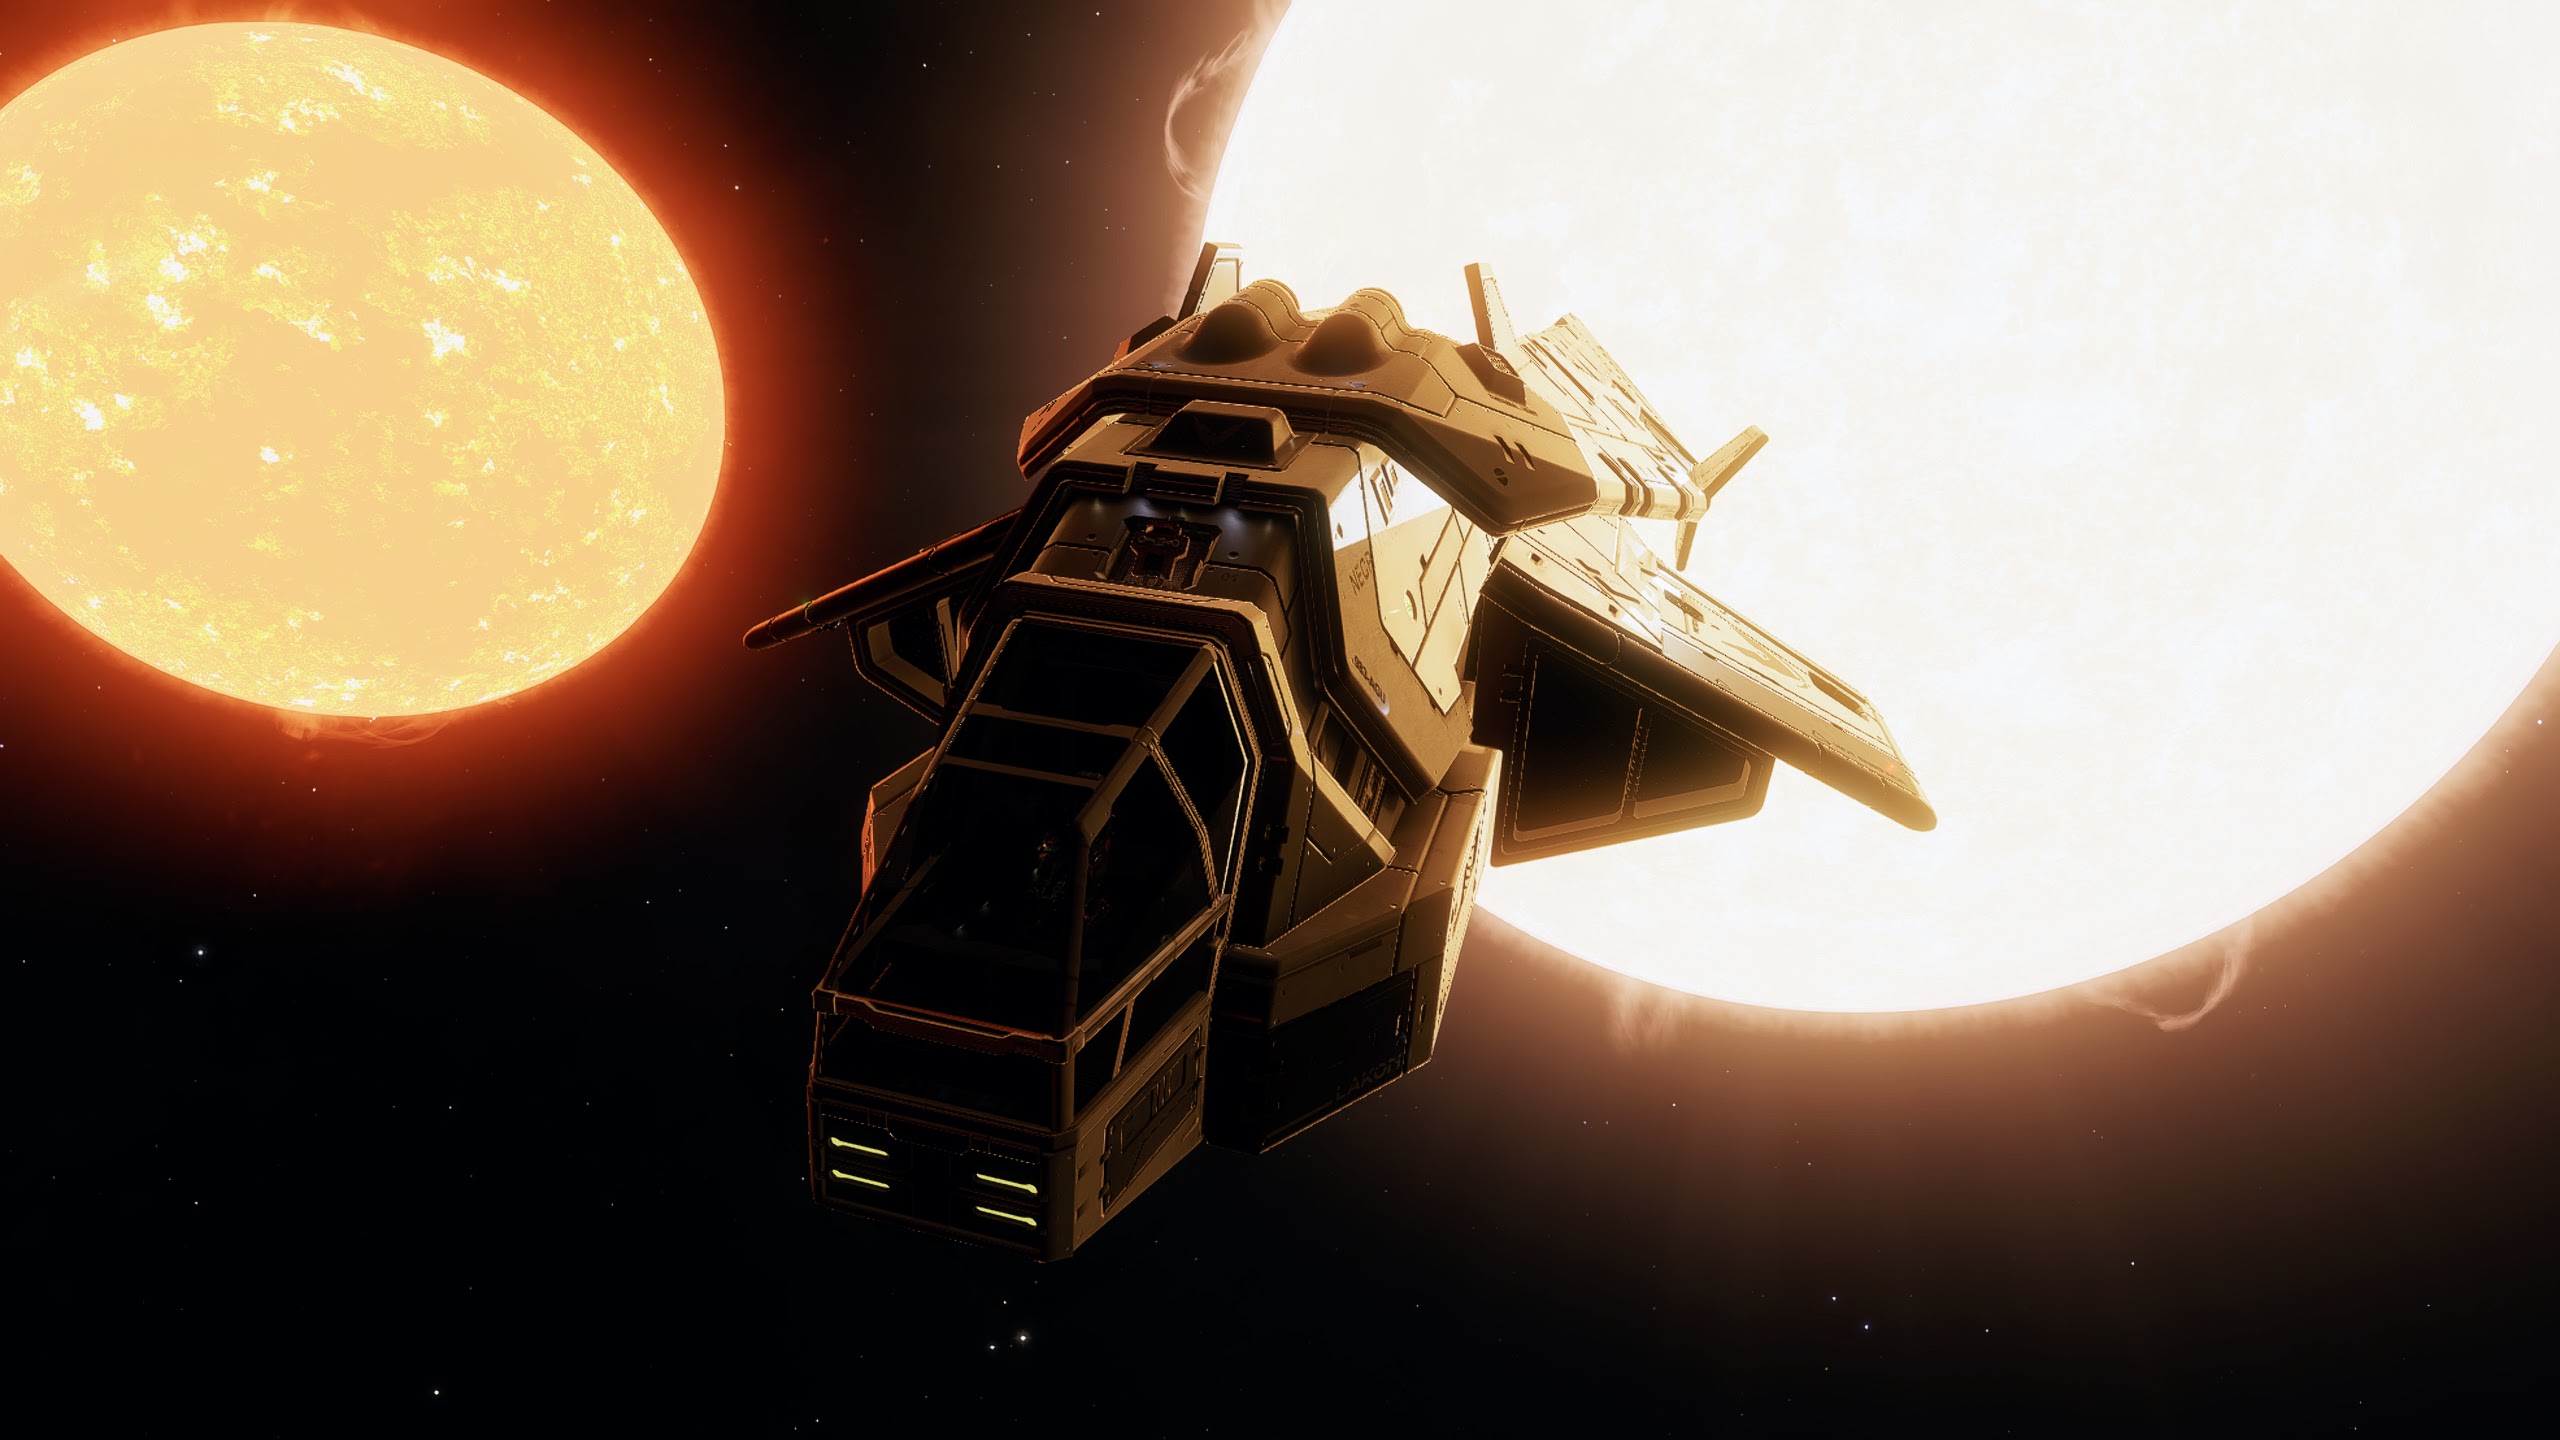
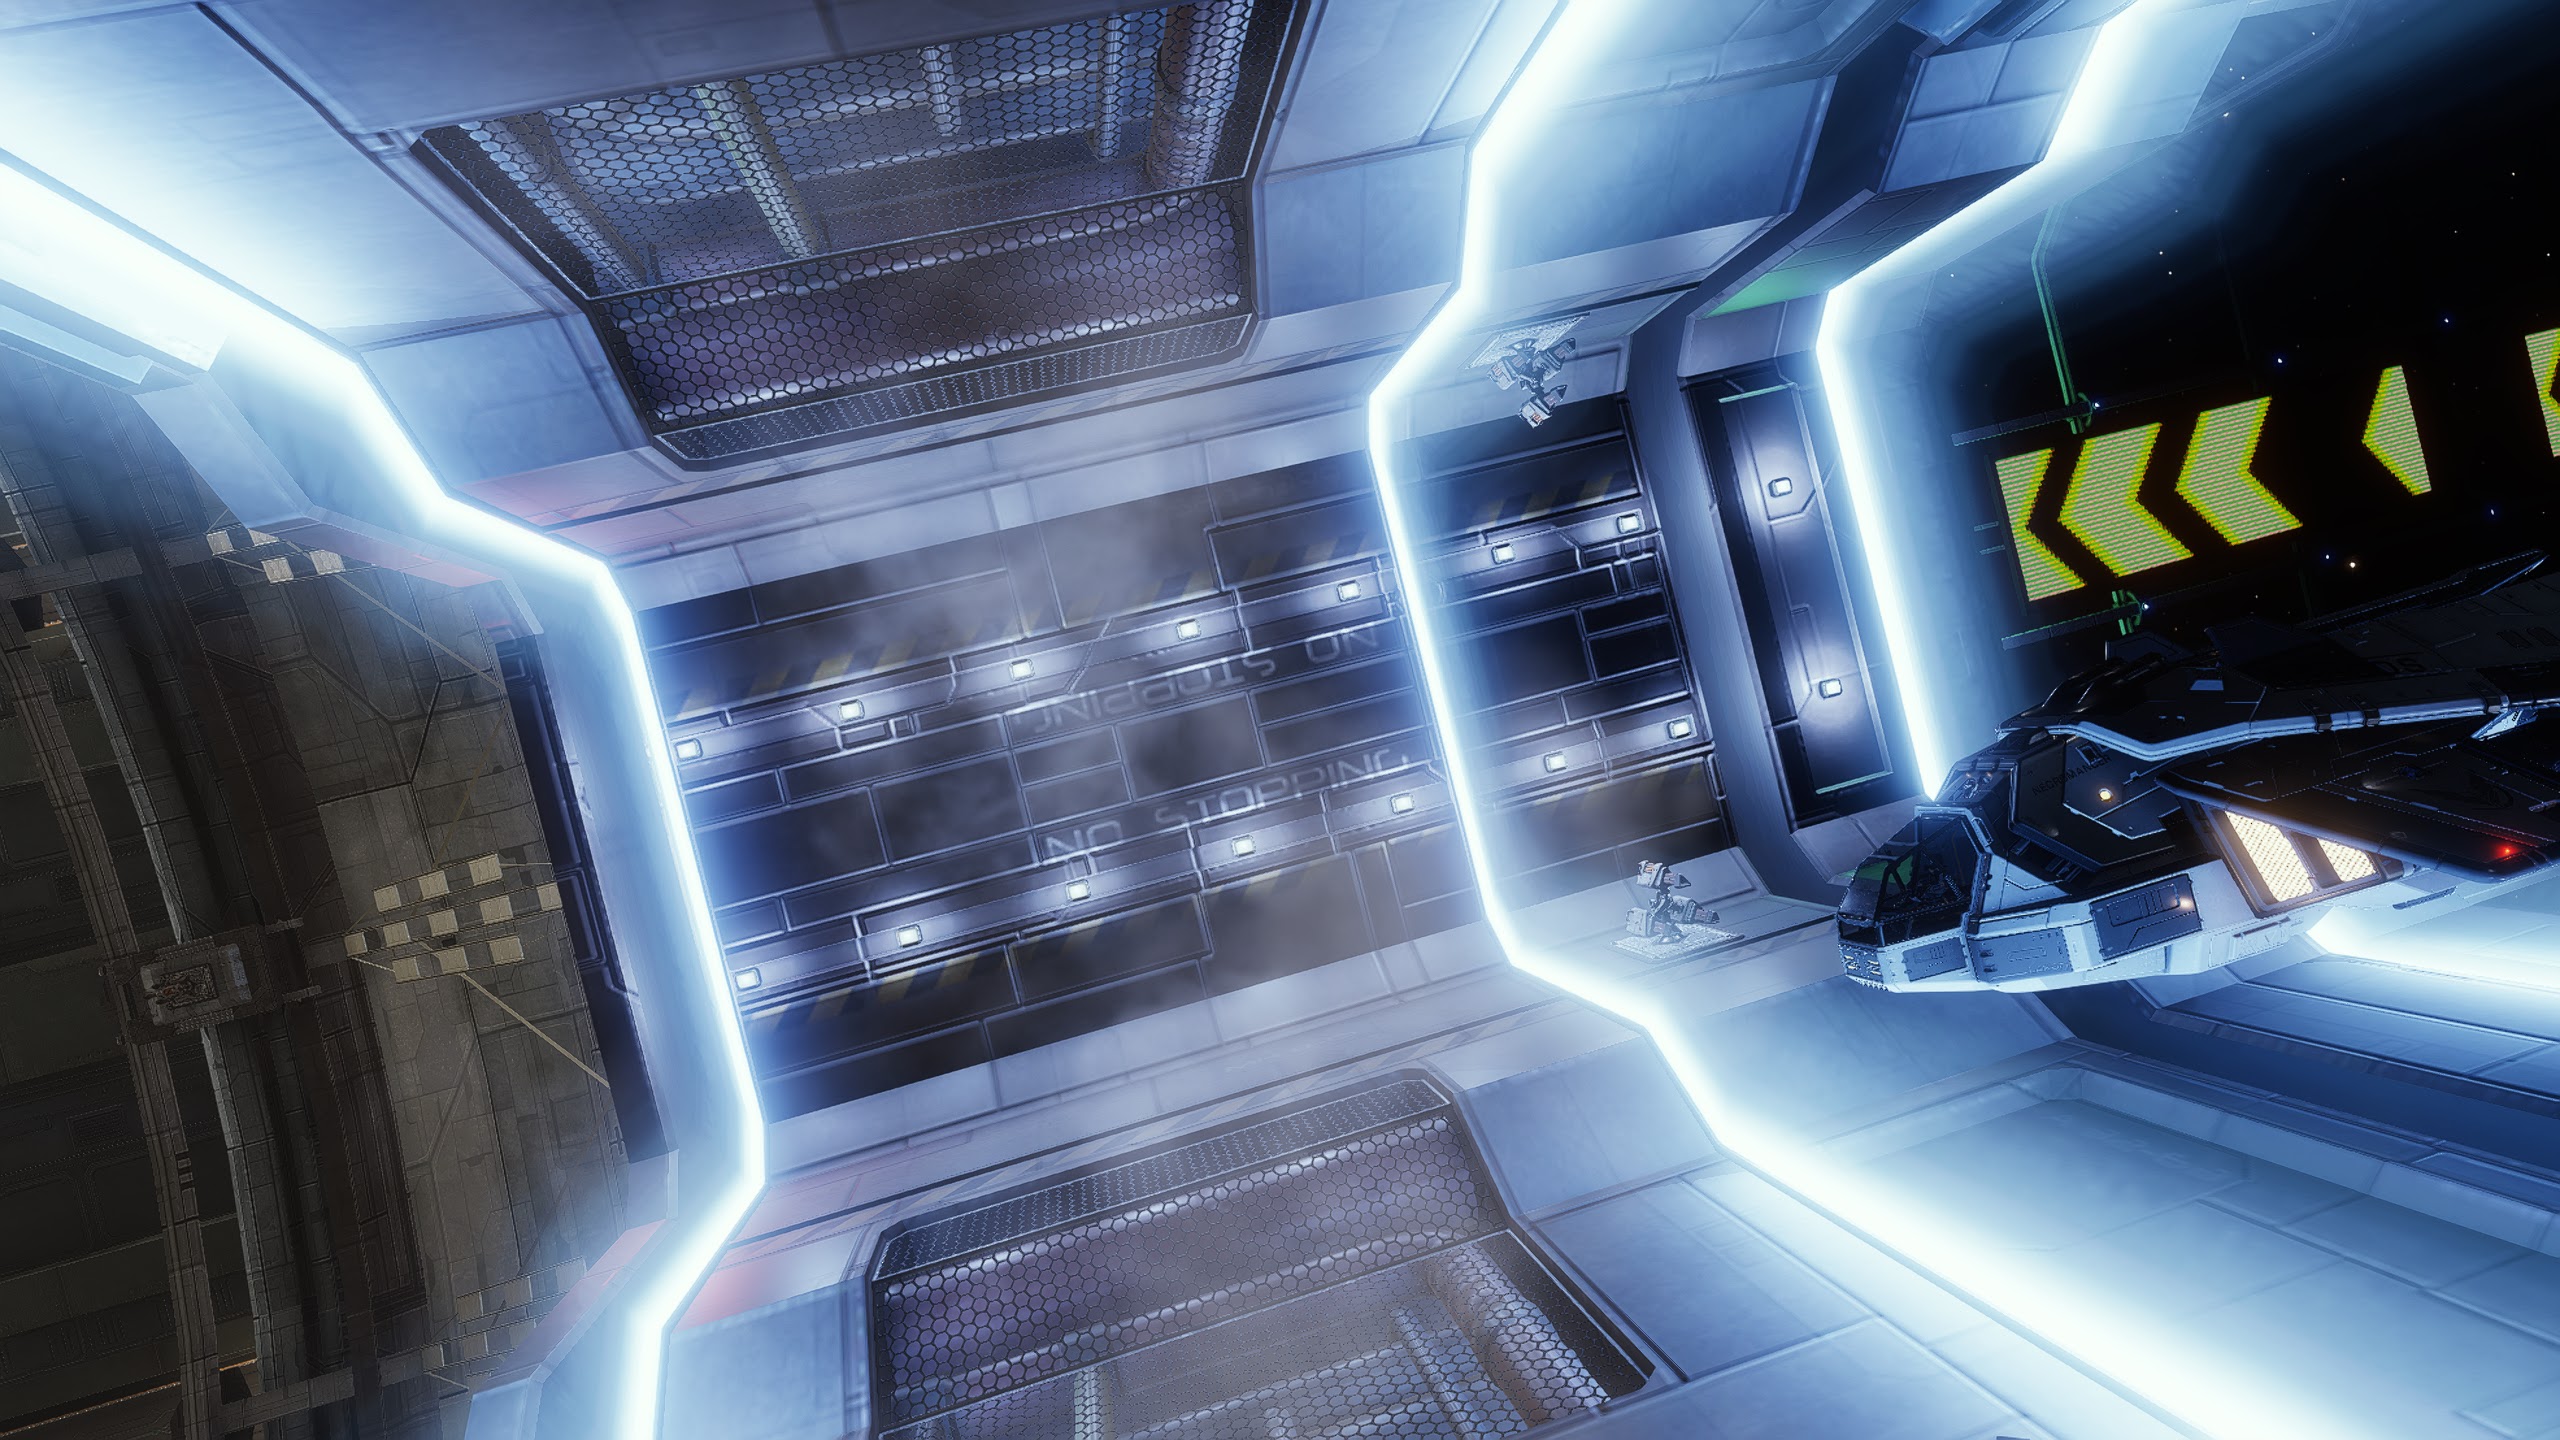
First, though, she needed a new paintjob. Red is an option, of course, as everybody knows that red ones go faster, but they don’t necessarily run cooler. So I settled on using the “Tactical Ice” paintjob instead…
And here she is! Waiting patiently on one of the landing pads at Atkov Ring in the Aura system. The start and finish line of the race.

The premise is simple, there are five sets of close orbit triple star systems we have to visit in the Bubble, apart from the start/finish system we can visit them in any order. They either include a station we have dock at or an installation we have to scan. So, the list of systems we must visit are as follows:
- CD-58 7880 ABC 1, Land at Wagner Landing
- Tiralla. Scan Matisse Rock
- Tulill, Land at Griffith Enterprise
- Hedetes. Scan either Alpha Star Tooling or Grand Willow Range.
- HIP 61986, Land at Luiken Port.
It took a little scouting around and some research but I decided to go to Wagner Landing (a planetary installation) right at the bottom of the Bubble first and make my way up, through the others to scan one of the facilities at Hetetes right at the top before returning to Atkov Ring. It wasn’t long before I realised that keeping cool was only a small part of the dynamic of this race. A stock DBS has a 4c fuel tank, but the regulation version only has a size 3c. This increases the jump range when full but after a couple of jumps you’ll be lucky if you make a third. Therefore the main dynamic of the race when using the regulation ship, is fuel management.
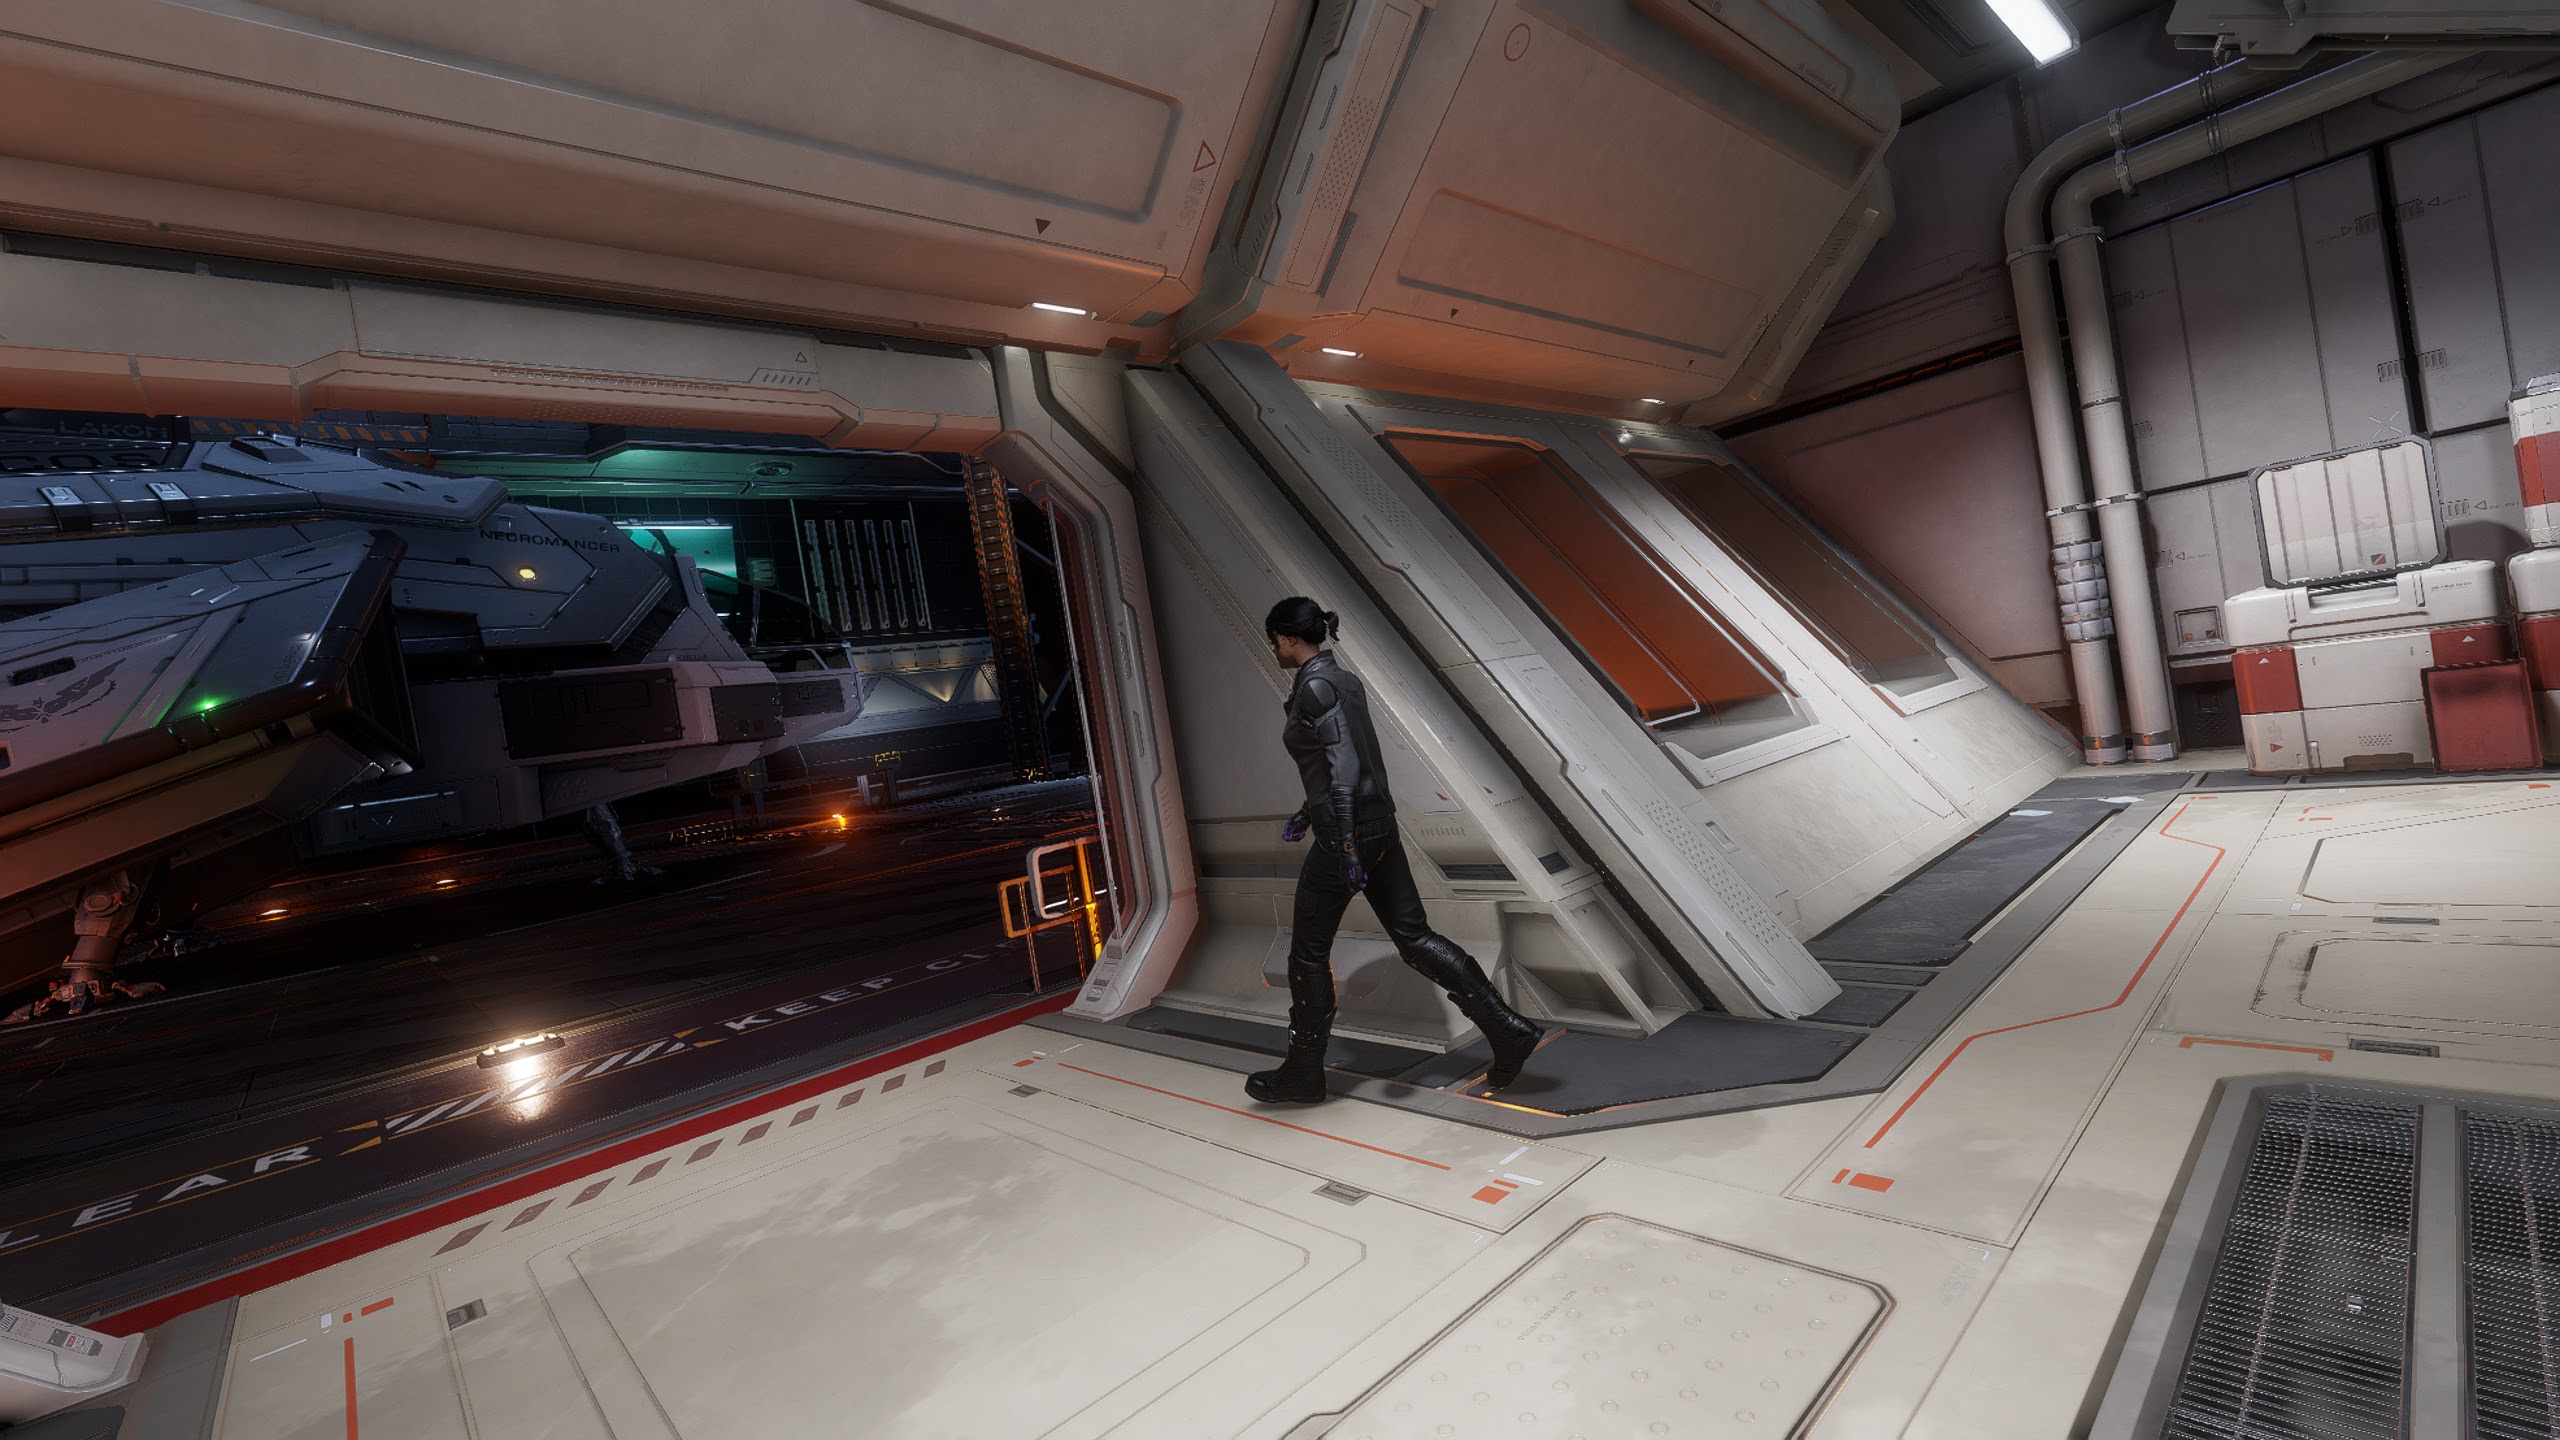
If new to Buckyballing, you should submit at least two runs. The first being a carefully (although not “painfully slow” carefully) flown run to make sure you can get a time on the board at all. Then, you should work out all the places where you can make up time and do a second run, really going for it. So, for my first run, I completely filled with fuel at almost every jump (in case I came across a couple of brown dwarfs) and landed as safely as I could. Although I hadn’t realised I’d left the “cone boost” option checked on the route planner and this almost cost me my first attempt! But more on that later. I got the Necromancer ready on the pad at Atkov Ring, started up the ship’s camera, and launched.

The best thing about this build is it allows you to charge up the FSD whilst you are scooping and you won’t overheat, at least, not much. Not only that but as I jumped and approached Wagner Landing, it became apparent that the DBS is immensely pleasurable to fly. I had a lot less trouble landing it than Cmdr Homborger seemed to have in the regulation Cobra MkIII. Taking off from Wagner after plotting a new course to the Tiralla system I was relieved to see the first jump was not obscured by the planet and off I went.

Once I got to Tiralla I headed straight for Matisse Rock and scanned the installation there. So far so good. Probably wasting time scooping far too much, but, like I said, I just wanted to make sure I could actually post a time.

From there it was just a few jumps to Tulill and a landing at Griffith Enterprise. Again, this was straightforward. Probably took the landing a little too carefully but it was safe and then it was time to head to HIP 61986 and a quick docking at Luiken Port.

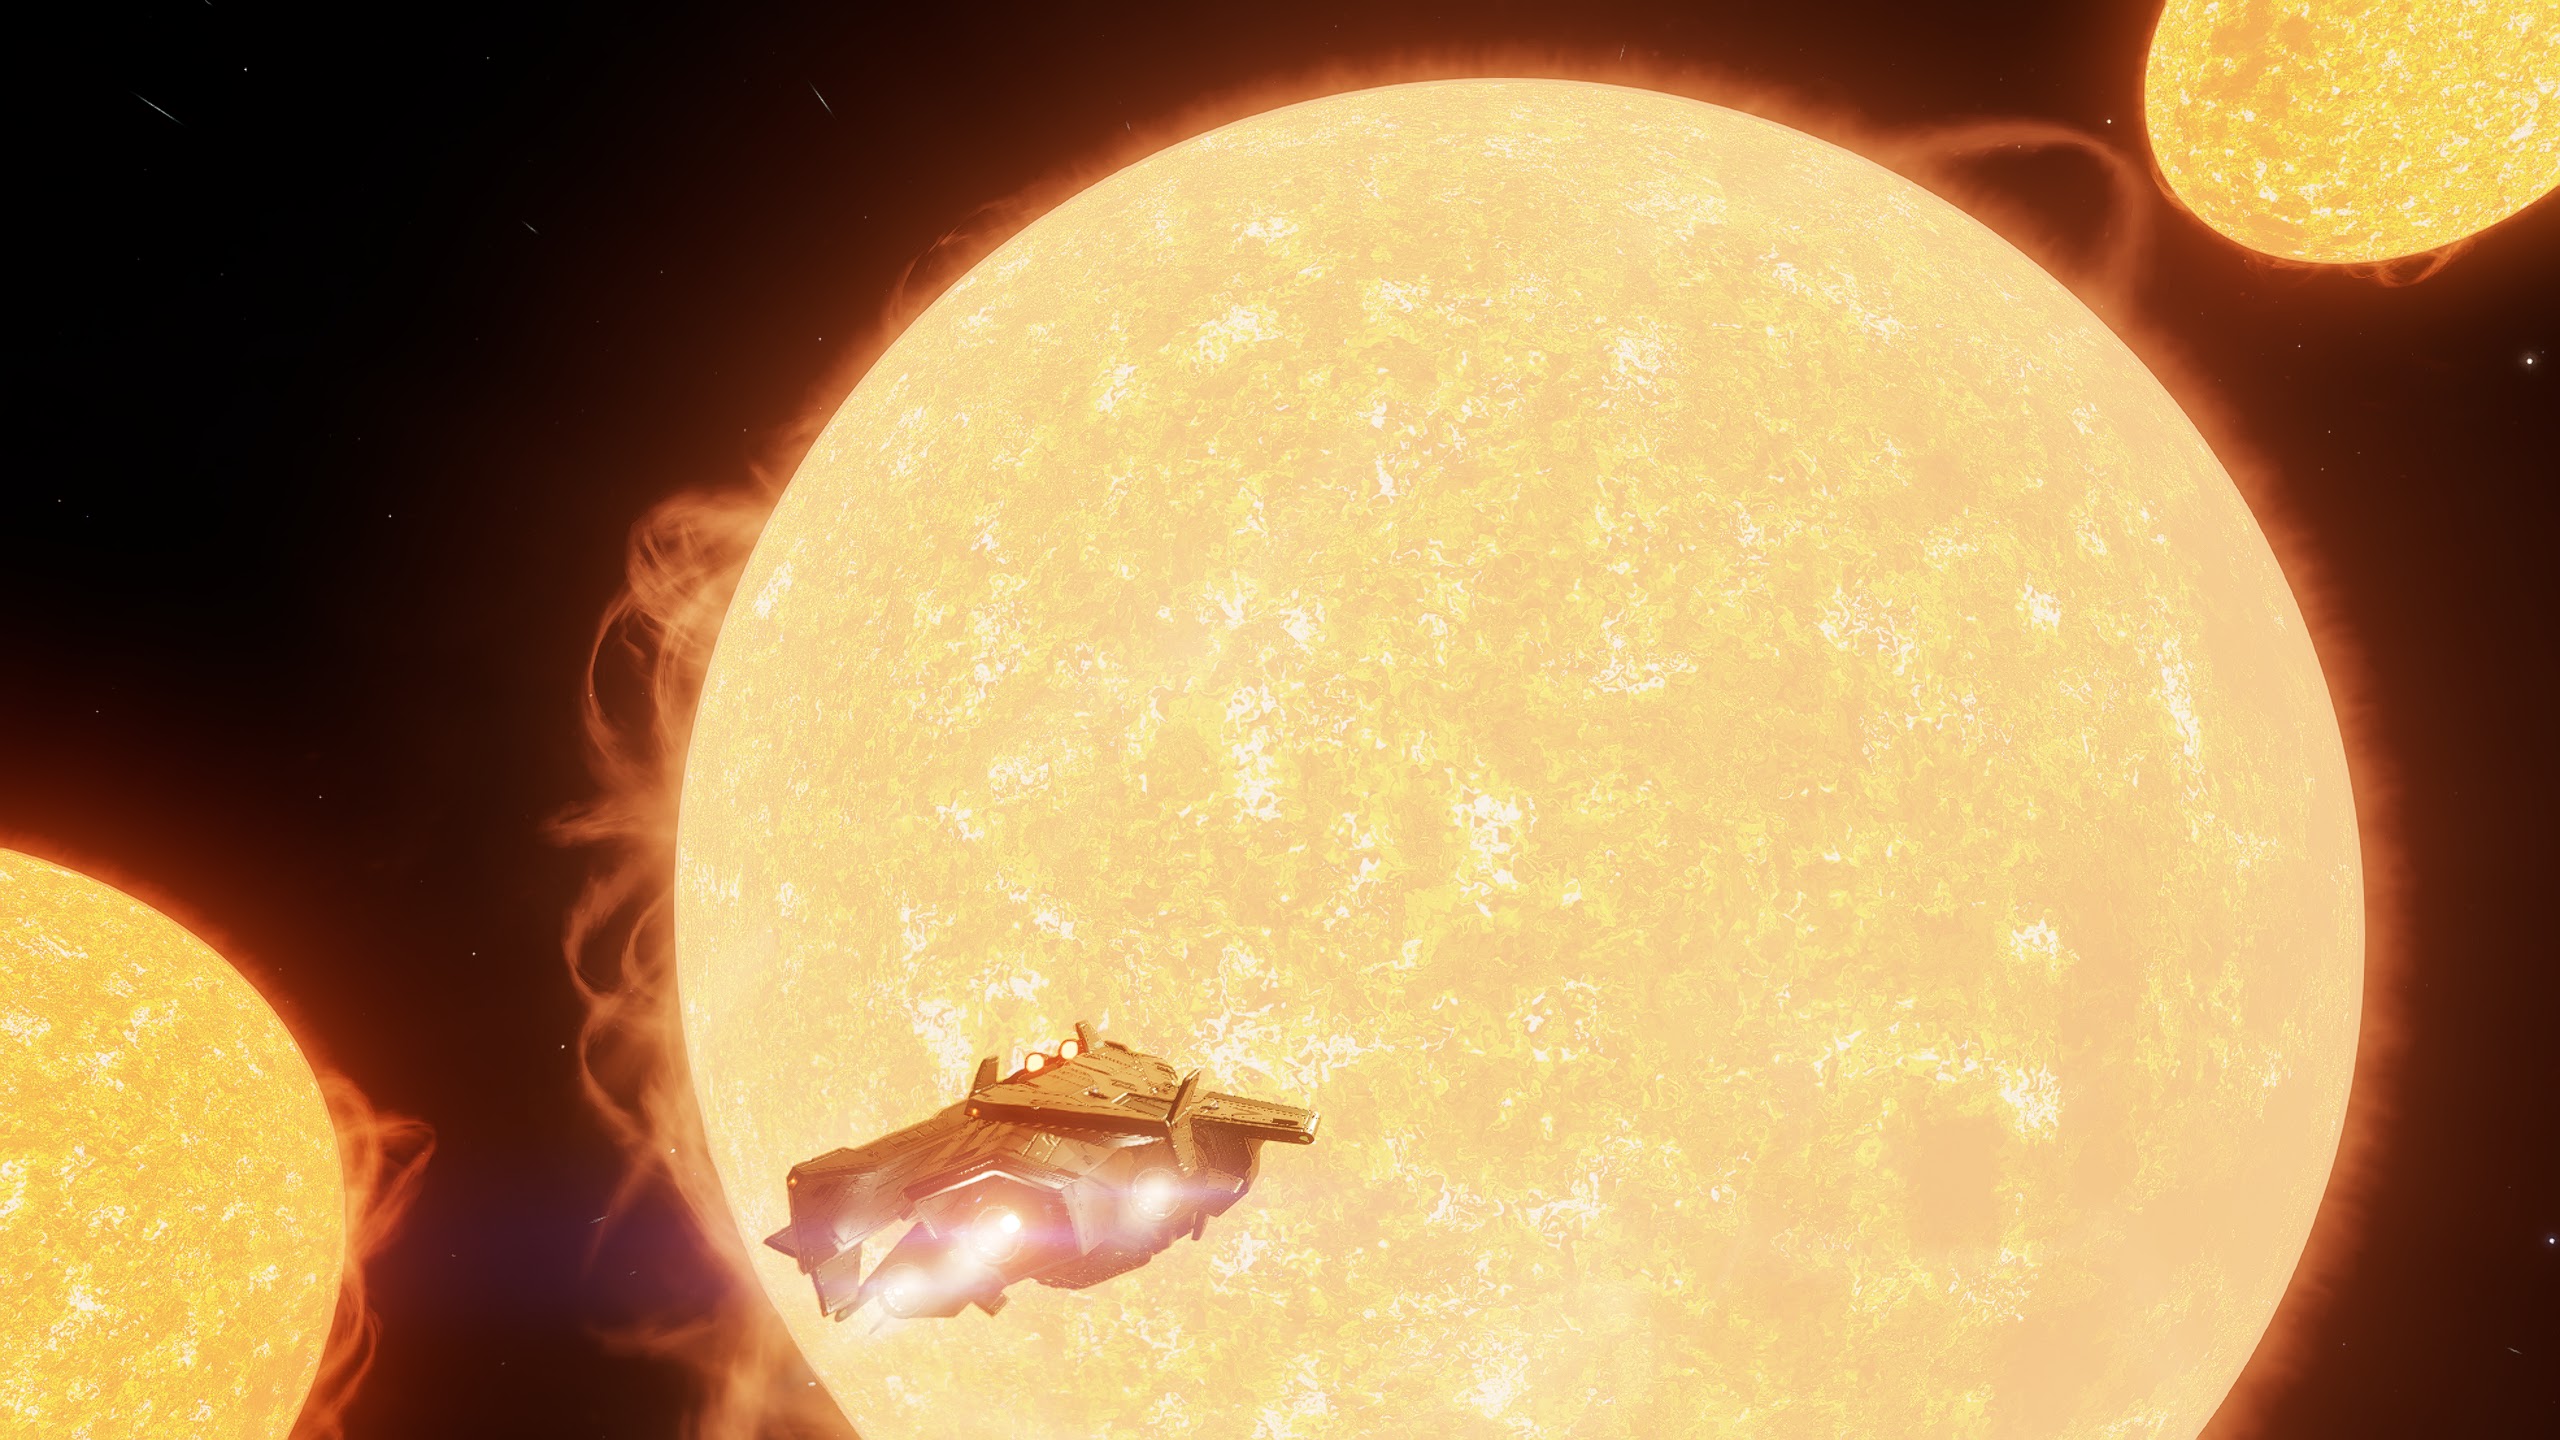
It was on my way to HIP 61986 that I encountered one of the most terrifying sights anyone navigating in the black can see. The white dwarf of Faust 3725. I realised I must have forgotten to eliminate them from the route plotter and now I had to either try and gain a cone boost or quickly replot my route. I decided to go for it. The cones of Faust 3735 barely extend beyond the exclusion zone so cone boosting is dangerous there at best, yet somehow I managed it only to realise that I didn’t actually need to boost at all! The last jump to HIP 61986 was well within the Necromancer’s normal jump range. I cursed – what a waste of time getting tossed about in that cone and risking death for nothing!
Landing at Luiken Port was, again, straight forward but the route to Hedetes went back through that dreaded white dwarf Faust 3725 again and this time, I had to boost to be able to continue.
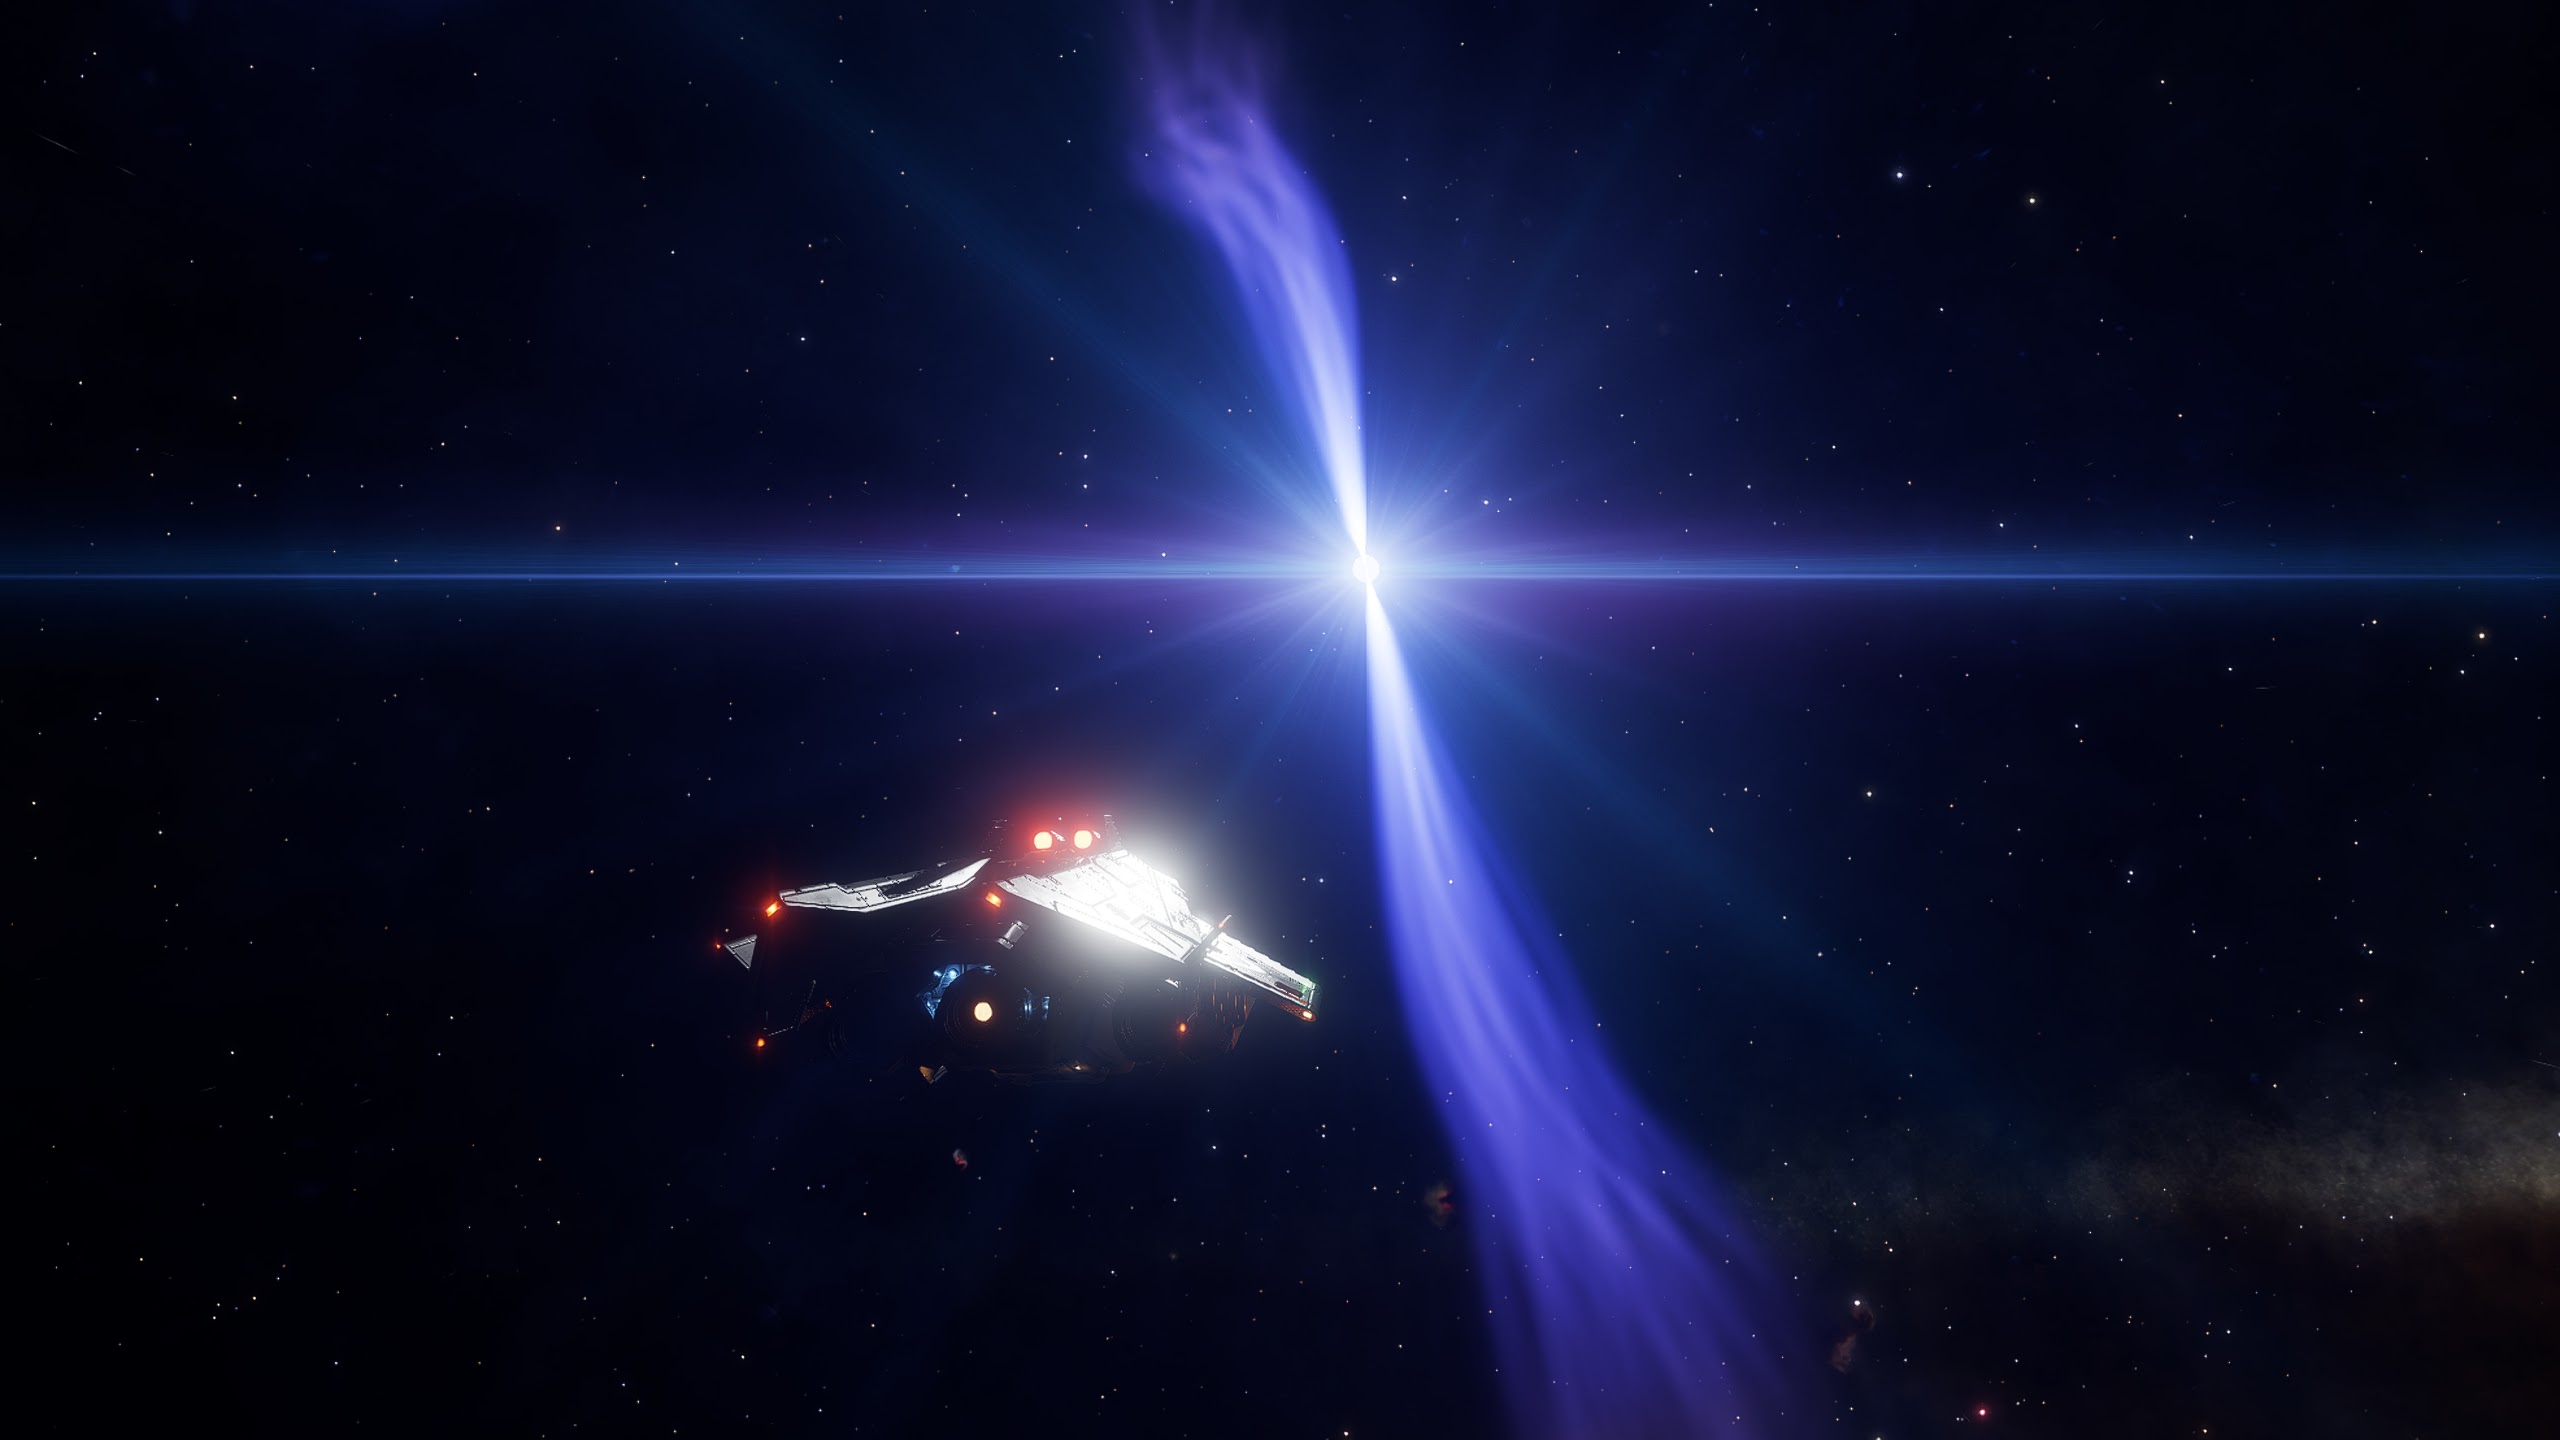
Getting caught in a white dwarf cone so close to the exclusion zone is white knuckle stuff. The magnetic forces throw your ship around like it’s in a giant tumble dryer and I was constantly having to steer the Necromancer away from the edge of the zone. It seemed to take an age for her to announce that her FSD had been supercharged and then I had to exit the zone in the right direction so I’m not accelerating back toward the star. I did this whilst still being thrown around and while the FSD was charging for the jump. I found the target system, fully engaged the throttle and, with a huge sigh of relief, left the deadly maelstrom behind me.
Arriving at Hedetes I had to see which of the installations was not obscured by the star or at least, which one was the least obscured. For the first run I chose Grand Willow Range. An agricultural installation orbiting so close to the main star that it causes it to pass directly between it and the close orbit secondary star. How anything survives so close to both stars is a mystery to me. but it’s here and I managed to scan it without incident, although the Necromancer was still scooping fuel and beginning to overheat as I carefully approached in supercruise. Then it was time to return to the start.

Again, I wasted time scooping too much on the six jumps back to Aura and was being probably a little too careful. I made it back without incident or anymore brown spacesuit white dwarf boosting, and docked at Atkov Ring without incident. My time, which I was happy with for a first attempt, was 40:21.

Sigh! Last. Now I know how Commander Homborger feels. But now its time to go for a second submission! Now this time I adjusted the route plotter to only use fuel stars, and turned off that annoying cone boost option. It was time to try again!

Now, because I’m really going for it, barely scooping enough to make the next jump at each star, and approaching each stop as effieciently as I can, I’m going to make mistakes, and if they’re too big and cost too much time – I’m going to have to abandon the attempt. I had to abandon several runs before I managed to improve my time, and even that was full of time wasting errors.
The first minor error was arriving at Wagner Landing and not being able to find the allocated pad, it was on the other side of the installation to where I had exited glide, rather than right in front of me in the previous submission. But it wasn’t too much trouble to get to it, turn around and land, it just took a little longer. The first jump after taking off was obscured this time so that took a little longer too.
Next I came to Griffith Enterprise, almost overshot the landing pad but didn’t loose too much time here. It seemed to go to plan from there until I came to Luiken Port at HIP 61986.
I completely over shot the pad as the one I had been allocated was directly below the mail slot! So I kept calm, turned around, headed back to the pad, lowered the Necromancer gently down…and got stuck!

Now this whole affair wasted around 35 seconds which is an age in Buckyball! But I managed, somehow, to extricate myself and land. Then it was on to Hedetes! Now, curiously, with the cone boost option on (which you use to make journeys shorter) it takes three jumps from HIP 61986 to Hedetes. But with it switched off it only takes two! Which is why I shouldn’t be so lazy and plot routes myself. But that will be for another race! Anyway, when I reached Hedetes there was a momentary panic where both installations were obscured and, after some indecisive time wasting I chose Alpha Star Tooling this time. Scanned it, then headed home.

The journey home was thankfully fast and uneventful and I landed back at Atkov Ring safely. It was time to submit my second run! But how much quicker was it?
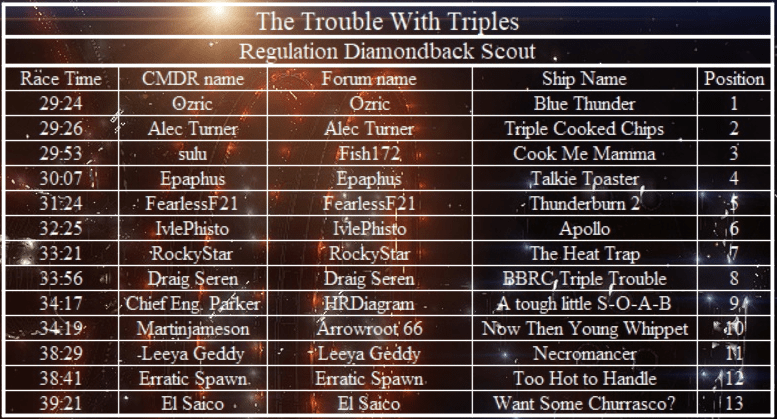
And there I am on the final leaderboard. NOT LAST! Hahaha! A time of 38:29 – almost two minutes quicker! Unfortunately there was no time for another attempt. I was sure, if I’d had enough luck, I could have shaved a couple more minutes off! But that is what Buckyball is all about.
Well, that was an amazing experience. The way you have to tactically scoop exactly the right amount of fuel before initiating a jump made it a really fun race to take part in. If I had worked out quicker routes that included brown dwarfs that refuelling dynamic would have been even more critical. But the thing that struck me most of all was how much of a pleasure the Diamondback Scout is to fly! Such a responsive craft! She makes such wonderful noises as we dance together. I think, whenever it is time to learn flight assist off combat, it will be in this ship!

